sample - Python Preset example
This artical contains a preset python example for building and deploying a service on the AOS Edge platform. Follow this guide to create a service on AosCloud, share state between units, and sign and upload the service version. You can explore the example by checking out the source code.
Prerequisites
- Target unit: a supported platform (VirtualBox or Raspberry Pi).
- AosCloud account: an SP user account for AosCloud. See the AosEdge dictionary for user types and Get access page for login help.
- Tools: AosCore SDK, Bash, Python and a virtual environment (
venv) are installed.
Prepare service for upload
Before signing and uploading your service to AosCloud, prepare the service by organizing the compiled binary and updating the configuration with the service UUID obtained from the Create a Service on AosCloud step.
-
Move script to service source folder.
Copy or move the compiled
preset.pyscript to the service source directory:mv preset.py ./srcEnsure the script is in the
./srcdirectory, as this is where theaos-signertool expects it. -
Update service configuration.
Open the service configuration file
./meta/config.yamland update theservice_idfield with the UUID you copied from the Service Detail screen in AosCloud:nano ./meta/config.yamlExample
config.yaml:service_id: '<YOUR_SERVICE_UUID>'
configuration:
state:
filename: default_state.dat
required: TrueReplace
<YOUR_SERVICE_UUID>with the UUID saved earlier. Save and close the file. -
Create file
default_state.datin folder./meta/.This file will be shared between unit instances and should contain any default state data required for service initialization.
touch ./meta/default_state.dat
Sign and upload service version
Use the aos-signer go tool to sign and upload your service to AosCloud.
In the service directory, run:
~/.aos/venv/bin/python3 -m aos_signer go
Expected output:
Starting SERVICE SIGNING process...
Starting CONFIG VALIDATION process...
Validating config...           VALID
Copying application...         DONE
Copying configuration...       DONE
Copying default state...       SKIP
Creating archive...            DONE
Sing package...       DONE
Creating service package...            DONE
*
Starting SERVICE UPLOAD process...
Starting CONFIG VALIDATION process...
Validating config...           VALID
Uploading...                   DONE
On success, the output ends with an Uploaded message. Verify the service details on the Services section of AosCloud.
Link unit and service together
Once your service is created and uploaded to the cloud, the next essential step is to link it with your unit.
You can accomplish this by creating a subject, which acts as the bridge between your unit and the service.
For detailed instructions on how to set this up, please refer to the following guide.
Please see Creating subject,
Access subject,
Assign unit to subject,
Assign service to subject chapters.
Approve service
Before installing a service on a unit or updating an existing one, you must approve these changes.
For detailed instructions on how to set this up, please refer to the following guide.
Please see Approve service сhapter.
Validate result of the service
For detailed instructions on working with logs, please refer to the Validate result of service chapter.
Open logs and try find the message [AosEdge] Current preset in logs

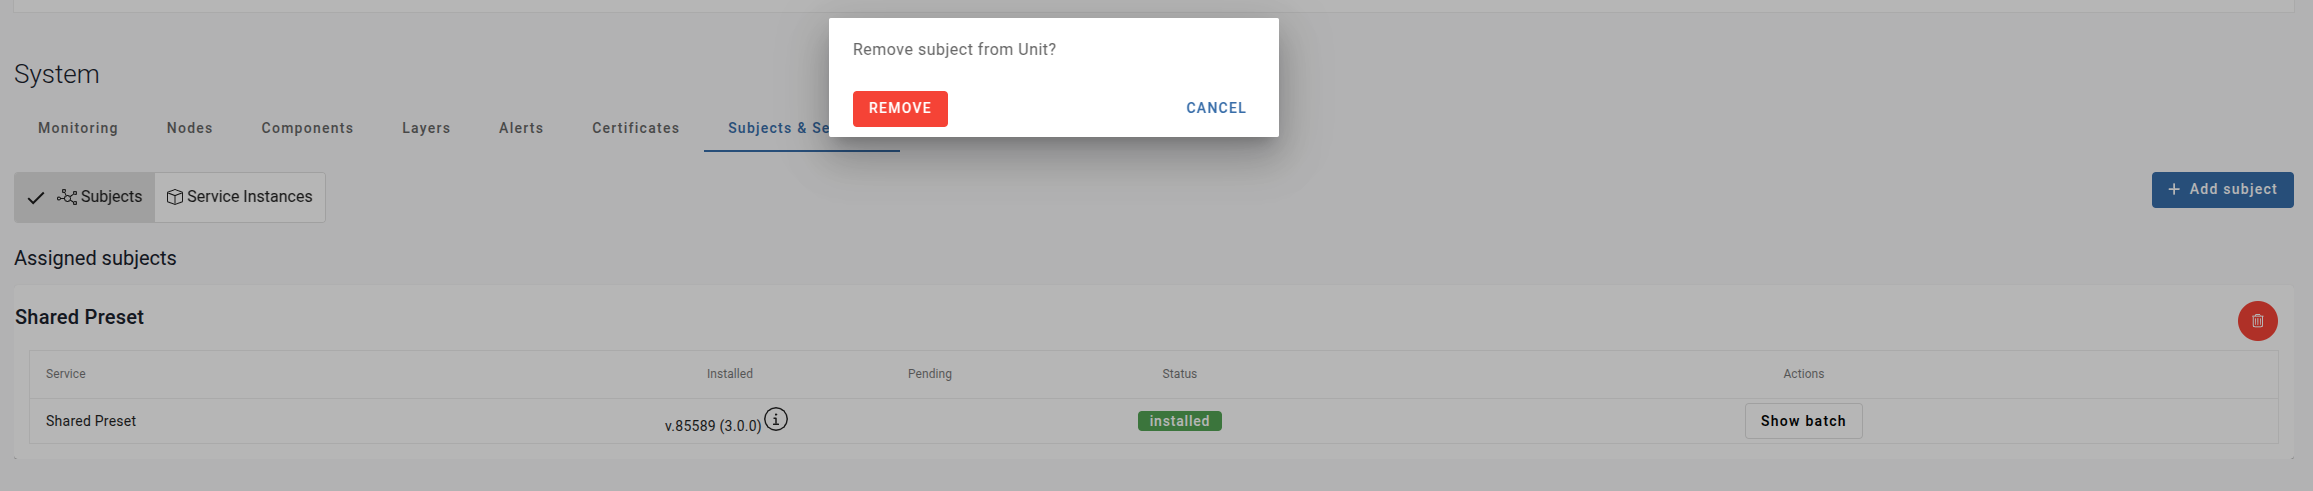
If message found the preset correct applyied on our unit Next step you should remove subject from current unit and set to other unit
Go to Units and choose you unit

Switch to page Subjects & Services and remove subject from current unit
Next step set up this subject to other unit. Go to Units and choose you unit
- Assigned as described in part Assign a unit to subject
- Approve as described in part Approve service
- Download logs for current unit
Open logs and try find the message [AosEdge] Current preset in logs.
You should be able to find message [AosEdge] Current preset but preset setting should be different.
The result should be:
